Yesterday’s post explained a little about how I got out of my creative slump a few months back, despite being on pregnancy bed rest. I originally had plans to design our baby’s room in a woodland style theme, with a large tree mural on one wall. However, once I started looking at pictures of baby rooms online, I realized that so many people seem to have had that same idea recently and I got pretty discouraged. Our neighborhood is named after all of the large mature pine trees here, and that is our favorite thing about this area. When we first saw all the trees in this neighborhood, we both instantly knew that this would be our home. 🙂
I wanted to create a nursery design that would reflect our love of the outdoors, and still show my unique design style. The idea of a tree mural had to be scrapped since I could not paint a wall while on bed rest anyway. My challenge was to find ways to reflect the look that I wanted, via projects that I could create while lying in bed. Normally, sewing and painting projects would be my first go-to option, but since I could not sit up and sew anything until recently, I had to use other methods of creating for most of the decorations. Even more of a challenge: I primarily had to use whatever supplies I had on hand in my craft room since I could not go wander around any craft supply stores for quite some time. In the end, I went with a nature/outdoors/garden/forest kind of theme, with a little inspiration thrown in from The Lorax (the mobile over the changing table has my version of truffula trees!).
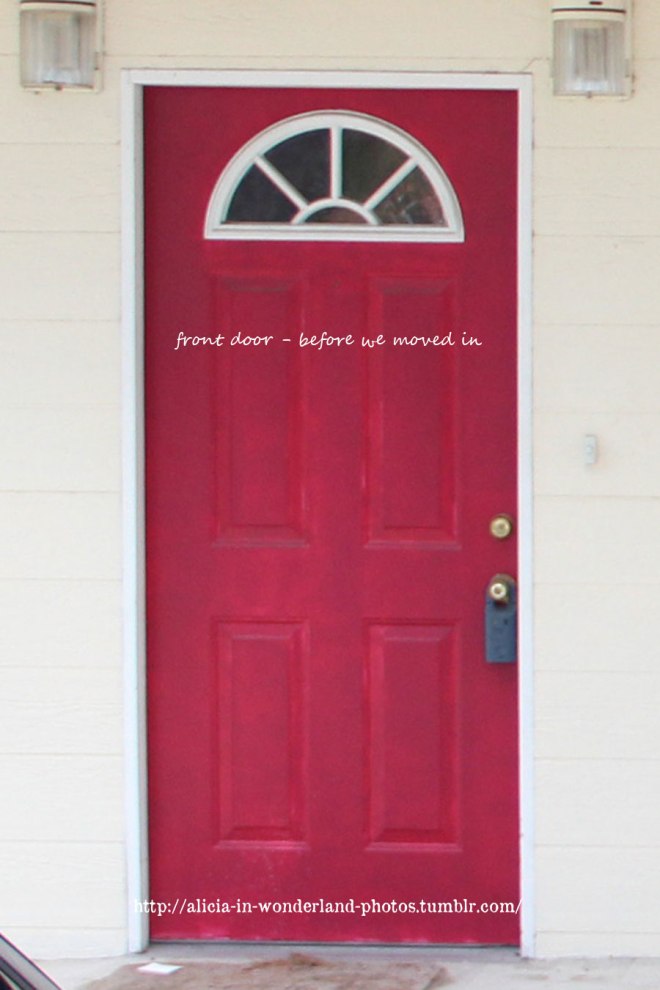
Despite all of these restrictions, I absolutely love the end result. My husband did an amazing job redoing the walls, adding insulation to the exterior wall, and creating a custom frame for the window trim. We wanted to replicate the look of the trim in our old craftsman rental house. You can see the before pictures of this house here.
Some interesting items worth noting…the tiny rocking chair was given by my great-grandmother to my mom, then to me (I sewed the little “Rockin Cowboy” cushion). The hamper was a baby shower gift from when I was born. 🙂 I found the changing table for free on Craigslist and was originally planning to use it as a plant stand in my patio area outside. When I realized it went well with our crib, my husband sanded it down, repainted it, and made new shelves for it. The daybed was originally intended for our living room, but that didn’t end up working as well as we had hoped. I wanted to make sure that I have a pet-free bed to nap in after feedings, so we moved it into the nursery. The needlepoint pillow in the middle of the daybed was embroidered by my grandma, and sewn together by me.
The framed wall art is a mix of items. I found the vintage Winnie the Pooh prints at a thrift store a while back (actually during my first pregnancy just after we got married). I have been hanging onto them since them, waiting to be able to use them. 🙂 The owl prints were a free printable that I found via The Handmade Home. I sculpted the cross and made the yarn covered “E”. The round empty embroidery hoop on the wall is left intentionally blank for now. Once he is born, I will be making an embroidery design with his name and birth date. The prints with the Bible quotes and the quote from St. Francis are printables that I designed myself. They will be coming soon to the blog as well!
I am so happy with the finished room, and can’t wait for the little guy to join us in his room! The cats love the room so much that I have trouble keeping them out. 🙂 Two walls were intentionally left fairly empty to leave room for all of the photographs that we are bound to take of our little guy. In the next few weeks, I will be posting tons of DIY instructions on many of the various projects I made!